
You open your Mac five minutes before a client call, join the meeting, and immediately see the problem. The image is soft, the room looks darker on camera than it does in real life, and your framing makes it look like the laptop is sitting on your knees. The worst part is that nothing appears obviously broken. The camera works. It just doesn't look professional.
That gap is why camera settings mac keeps coming up for people who rely on video every day. The hardware has improved, but the defaults still don't do enough for anyone who cares about consistency, privacy, or a polished result. If you run telemedicine sessions, teach online, pitch clients, or host webinars, the difference between "good enough" and "dialed in" is very visible.
Why Your Mac Camera Still Needs Your Help
For a long time, Mac users had a fair complaint. Apple laptops were premium machines with underwhelming webcams. MacBook cameras stayed at 720p from 2008 until 2021, then Apple finally moved to 1080p on the 2021 24-inch iMac and M1 MacBook Pro line, according to Setapp's overview of Mac camera history and privacy controls. That upgrade mattered. It made the built-in camera usable for normal professional work instead of feeling like a fallback.
But better hardware didn't magically create better results.
A modern Mac can still make you look flat, dim, or oddly framed because macOS doesn't expose many low-level image controls. You can join a call with a good camera and still get poor output if the room is backlit, the app chooses conservative settings, or your angle is wrong. That's why so many people still end up experimenting with external lights, browser permissions, app settings, and manual framing tricks.
There's also a security side to this that professionals can't ignore. Apple has long tied camera use to a green LED indicator, and Mojave formalized app-specific camera permissions, as noted in that same Setapp guide. That means your Mac can be both camera-capable and privacy-conscious, but only if you manage which apps get access.
Practical rule: A sharper webcam doesn't fix bad light, bad permissions, or bad framing. Most Mac camera problems are setup problems, not hardware failures.
I've found that Mac video gets better fast when you stop treating the camera as a single setting and start treating it as a chain. The chain includes privacy permissions, in-call effects, app-level controls, your browser, your lighting, and your position relative to the screen. Miss one link and the whole call looks worse than it should.
Mastering Your Macs Built-In Camera Controls
Mac camera setup usually goes wrong in the five minutes before a client call. The camera works, but the app has no permission, the framing is off, or a video effect is helping in one room and hurting in another. The built-in controls are limited, yet they still cover the settings that decide whether you look reliable and prepared.
Start with privacy and permissions
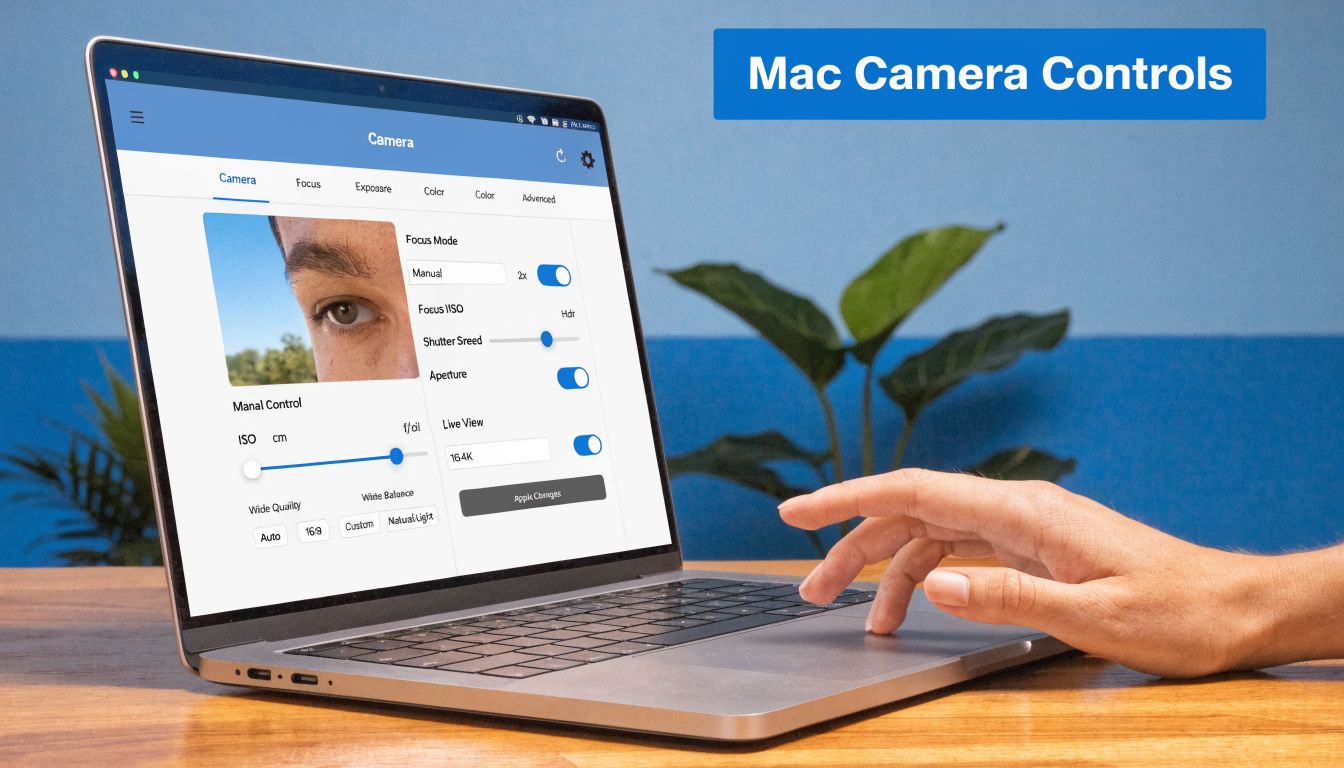
Open System Settings > Privacy & Security > Camera first. For professional use, this matters as much as image quality because it affects both access and exposure. If a meeting app is blocked here, you get black video, camera errors, or a silent fallback to another device.
I treat this screen like a short access-control list. Only keep camera permission enabled for apps you use for meetings, recording, or support sessions. If you test a lot of tools, including browser-based platforms and meeting clients, trim that list back afterward. Less access means fewer surprises and a smaller privacy risk.
A few checks save time:
- Review camera access before a week with interviews, demos, or customer meetings.
- Remove permission from apps you installed for one-off testing.
- Recheck after a major macOS update or after switching browsers.
- If your company handles sensitive calls, confirm screen recording and microphone permissions at the same time.
The green camera indicator is still the fastest sanity check. If an app claims the camera is active and the light never appears, start with permissions, then quit competing apps that may already be using the camera.
Use Video Effects carefully during live calls
On Apple silicon Macs, the menu bar gives you live video controls while supported apps are open. That is where Apple’s built-in camera tuning is useful. You are not getting manual exposure or white balance here. You are getting framing and presentation controls that can help a call look more intentional.
Open Control Center or the Video Effects icon during a call and test one effect at a time. Do this before a real meeting if the call matters. Layering effects is where Mac video starts to look artificial.
Center Stage
Center Stage works best if you move while speaking. It can keep you framed during training sessions, quick whiteboard explanations, or product demos where you lean toward the screen and back away again.
I leave it off for formal sales calls, executive updates, and legal or financial conversations. A fixed frame usually looks more deliberate. Constant reframing can make you look less settled, even when the feature is technically working.
Good fit:
- presentations with natural movement
- customer onboarding sessions
- teaching or coaching from a desk
Poor fit:
- board meetings
- interviews
- any call where a static composition looks more polished
Portrait mode
Portrait mode is the easiest quality bump for people working from a normal home office instead of a studio. It reduces background detail and keeps attention on your face. That is useful when the room is fine in person but distracting on camera.
There is a trade-off. If your hair, glasses, or microphone edge sits close to the background, blur can look uneven. On lower light calls, the cutout can also soften your outline more than you want. Test it with the actual shirt, chair, and lighting you use for work, not in a bright afternoon one-off.
For AONMeetings users, this is often the cleaner choice over aggressive app-side beauty filters. Background simplification tends to look more professional than skin smoothing, especially in healthcare, consulting, and client services.
Portrait mode works best as an attention control tool, not as a way to hide a bad setup.
Studio Light and Reactions
Studio Light can help if your face is getting lost against a bright window or a dim office. It is useful late in the day when ambient light drops and you need a readable face without dragging in extra lamps. I use it sparingly because too much processing can flatten skin tone and make the image feel synthetic.
Reactions are different. They are casual, and that is the problem. Gesture-triggered effects can fire at the wrong time, which is not great in a serious client meeting. If your Mac supports them, turn them off unless you know the call is informal.
Know what macOS does not let you control
The built-in Mac camera tools stop at presentation effects. You cannot set shutter speed, ISO, white balance, or true manual exposure from standard macOS controls. If your job depends on consistent video across changing rooms, that limit shows up fast.
Desk View and Continuity Camera features can also be sensitive to placement and device position. They are useful, but they are not set-and-forget tools. In practice, native controls are good for quick improvements, privacy management, and simple live adjustments. They are not enough if you need repeatable color, stronger low-light handling, or tighter control over how your camera behaves across apps.
Adjusting Settings Inside Your Favorite Apps
Many Mac users lose image quality without realizing it. The operating system may be fine, but the app you're calling from can still cap resolution, apply low-light behavior you don't want, or inherit restrictive browser permissions.
Zoom settings that usually help
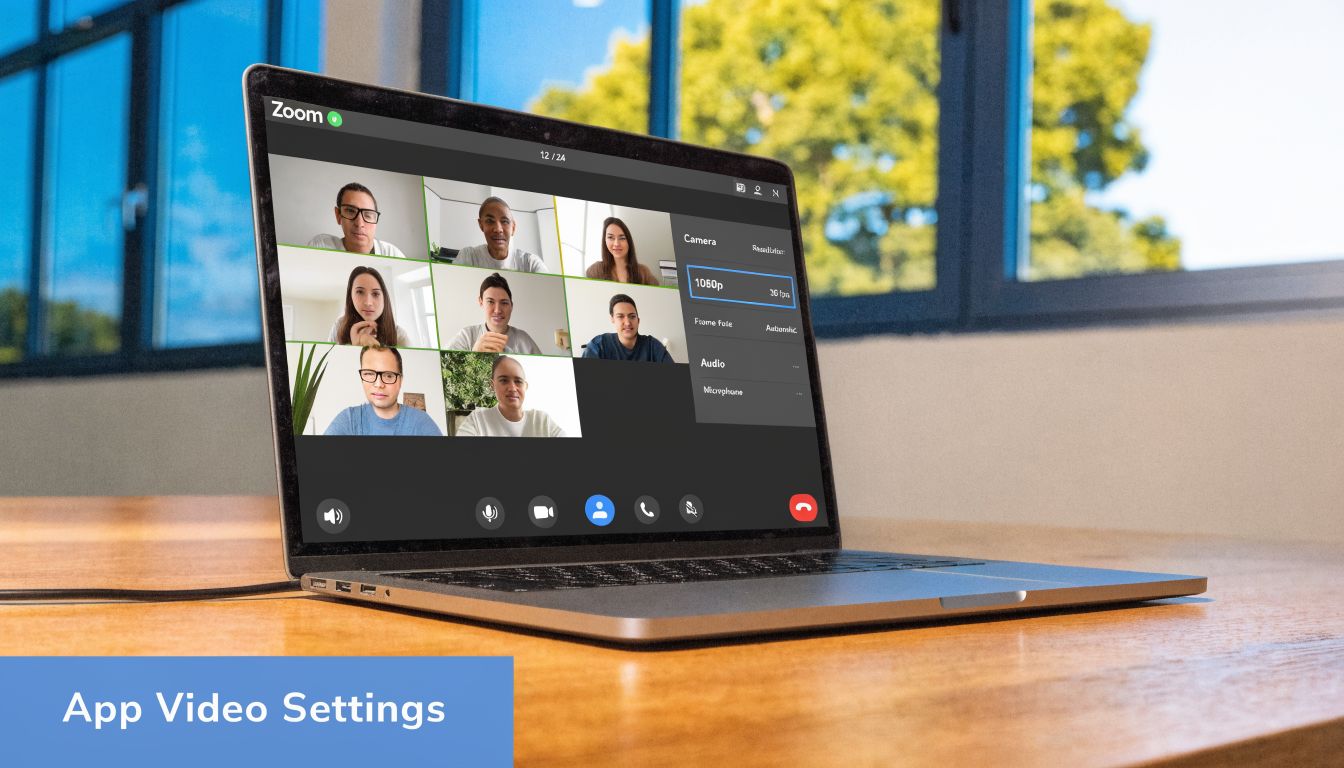
macOS doesn't offer low-level camera controls natively, so app-level settings matter more. In Zoom, HD mode and Adjust for low light are the first two settings I check. Google Meet also offers 720p HD selection, and this kind of app-side tuning matters because 80% of telemedicine visits now rely on video, according to the verified guidance summarized from this camera settings walkthrough.
Inside Zoom, open Settings > Video and review these:
- HD: Turn it on if your connection and meeting plan support it.
- Adjust for low light: Start with Auto. If Zoom still makes you look muddy, try the manual option and test before the meeting.
- Touch up my appearance: Use this lightly. Too much and your face starts to look artificial.
The trade-off is straightforward. Zoom can improve a rough image, but too many corrections create a plastic, overprocessed result. If your room lighting is decent, keep Zoom's cosmetic settings minimal and let the camera do more of the work.
Google Meet and browser-based calls
Google Meet's quality controls are easier to miss because they sit inside the web app or browser environment. If Meet looks softer than expected, confirm that HD is enabled and that the browser hasn't defaulted to a lower-quality path.
Browser-based meeting platforms add another layer. Camera performance depends on the browser's own site permissions, not just the Mac's global permission list. If the browser blocks camera access for a specific site, you can spend ten minutes blaming the wrong thing.
For browser sessions, check both levels:
- macOS camera permission for the browser itself
- site permission inside Safari or Chrome for the meeting website
If you're presenting often in-browser, it's also worth learning the rest of your workflow. For example, if you need to demo slides cleanly during a session, this guide on sharing your screen in meetings is useful because screen-sharing issues often show up alongside camera and browser permission problems.
Safari and Chrome permission habits
I treat browser permissions as part of meeting prep, not as a technical afterthought. A simple routine works well.
In Safari
Open the website settings for the meeting platform and confirm the camera is allowed. Safari can be stricter than people expect, especially after privacy changes or if you've previously clicked "Don't Allow."
In Chrome
Use the site settings panel and verify both camera access and the correct camera device. If you've ever connected an external webcam, Chrome may still try to use it later even when it's unplugged.
A browser can "remember" the wrong camera just as easily as it remembers the right one.
Practical examples by use case
Different roles need different app settings.
| Use case | Best adjustment focus | What to avoid |
|---|---|---|
| Telemedicine | Clear face lighting, stable framing, simple background | Heavy beauty filters |
| Client presentations | HD on, restrained blur, camera at eye level | Constant auto-framing if it feels busy |
| Teaching and tutoring | Bright face, readable desk setup, easy screen sharing | Background effects that hide teaching materials |
| Webinars | Consistent exposure, pre-tested permissions, browser stability | Last-minute browser switching |
A lot of readers comparing platforms are also comparing workflow friction. If you're still evaluating options, this roundup that helps compare leading video conferencing tools is useful because camera quality doesn't exist in isolation. Join flow, browser reliability, webinar support, and admin controls all affect the overall experience.
What works and what doesn't
What works:
- checking app settings before the meeting day
- using one browser consistently for web meetings
- keeping app effects modest if you're already using Mac video effects
- testing in the same room and at the same time of day you'll call from
What doesn't:
- assuming "HD" is already enabled
- stacking Zoom touch-up, Portrait mode, and poor lighting all at once
- changing browsers right before a call
- blaming the Mac when the browser blocked the site
If native settings get you close but not consistent, that's usually the point where third-party camera tools start making sense.
Unlocking Advanced Control with Third-Party Software
A common Mac camera problem shows up after the second or third meeting of the day. The morning call looked clean. The afternoon call looked dim and yellow. Same laptop, same person, different light. If you need your video to stay consistent for clients, interviews, telehealth, training, or recorded webinars, built-in controls usually stop one step short of what you need.
Third-party camera software fills that gap. It gives you direct control over settings that macOS often handles automatically, such as exposure, white balance, saturation, and image tuning. That matters more than extra effects. Reliable video is usually about consistency, not novelty.
When extra control makes sense
The clearest reason to install a camera utility is repeatability. Auto exposure and auto white balance are fine for casual calls, but they drift when daylight changes, a desk lamp turns on, or a bright window sits behind you. Manual control lets you hold the image steady instead of letting the camera guess.
For many professionals, Webcam Settings is the practical paid option. It costs $9.99 and focuses on the controls Mac users usually ask for first: exposure, ISO, saturation, and saved presets. I suggest turning off Apple video effects during initial setup so you can see what the app itself is changing. Running multiple layers of processing at once makes troubleshooting slower and can produce inconsistent results.
That trade-off matters for security and reliability too. Every extra utility gets camera access, and that should be a deliberate choice, especially on work devices handling client or patient conversations. If your priority is a stable, private setup, install one tool you trust, grant permission once, and avoid building a stack of overlapping camera apps.
A practical setup for Webcam Settings
Start simple.
- Install Webcam Settings from the App Store.
- Open the app and confirm your camera feed appears correctly.
- Disable Portrait mode, Center Stage, or other Apple effects for the first test session.
- Adjust one setting at a time. Exposure first, then white balance, then color.
- Save a preset for each room or lighting condition you use.
Use descriptive names. "Home Office Daylight" and "Conference Room LED" are much easier to trust under pressure than "Preset 1."
Manual exposure usually delivers the biggest improvement. In backlit rooms, it can do more for image quality than another ring light or another filter.
Mac Camera Control App Comparison 2026
| App Name | Price | Key Features | Best For |
|---|---|---|---|
| Webcam Settings | $9.99 | Manual control over exposure, ISO, saturation, menu-based adjustments, profile saving | Professionals who need repeatable camera tuning |
| Hand Mirror | Free tier | Quick camera preview before calls | People who mainly want to check framing and appearance |
| Native macOS controls | Included with macOS | Center Stage, Portrait mode, Studio Light, permissions management | Users who want built-in effects without extra software |
The table helps, but actual differences show up in day-to-day use.
- Choose native macOS controls if you mainly want framing help and light cosmetic cleanup.
- Choose Hand Mirror if your main need is a fast pre-call check with almost no setup.
- Choose Webcam Settings if your work depends on a stable image across different rooms, times of day, or repeated client sessions.
For AONMeetings users, this matters even more if you host sessions that will be replayed later. Small exposure shifts are easy to ignore live and much more obvious on playback. If recorded sessions are part of your workflow, this guide on how to record webinars effectively is worth reviewing alongside your camera setup.
Trade-offs reviews often miss
Third-party camera apps add control, but they also add complexity. They can compete with native effects, they can require fresh permission checks after system updates, and they create one more place where a call setup can fail five minutes before a meeting.
They also do not fix a bad physical setup. A low camera angle still looks low. Overhead lighting still creates shadows. A cluttered background still looks distracting.
That said, for consultants, trainers, founders, healthcare staff, and sales teams who appear on camera every day, a small software purchase often returns more value than another accessory. If your Mac camera looks different every time you join a call, paid control is often the fastest way to make it predictable, secure, and professional.
Pro Settings for Flawless and Secure Video Calls
A polished call isn't the result of one setting. It's the result of several small decisions that support each other. The camera, the light, the angle, the background, the app, and your security habits all show up on screen at once.
Fix the angle first
One of the biggest MacBook problems isn't image quality. It's geometry. The laptop camera sits in a fixed place, and that often creates the classic low, unflattering perspective. Verified guidance on this underserved issue notes that using Portrait mode's adjustable blur can create a perceived 30 to 50 percent improvement in camera angle by de-emphasizing the lower frame, based on the cited discussion of Mac angle workarounds.
That doesn't replace proper positioning. It just helps.
For the best result:
- Raise the laptop physically: A stand or a stack of books solves more than any digital effect.
- Tilt the screen only as far as needed: Too far back often worsens the perspective.
- Sit slightly farther away: Distance reduces distortion and makes framing easier.
- Use Portrait mode as a finishing tool: Let it soften the lower frame, not rescue a bad setup.
Build a professional look with simple choices
You don't need a studio. You need predictable inputs.
Lighting
Face a soft light source. A window can work if it's in front of you, not behind you. If the room changes through the day, add a small lamp or dedicated key light so your look doesn't change with the weather.
Background
A blank wall, tidy shelf, or neutral office corner almost always beats a fake virtual background. Native blur is usually the better compromise. It keeps depth and separation without the cutout errors that make hands and hair look strange.
Framing
Your eyes should land around the upper third of the frame. Leave a little space above your head. Don't crop so tightly that every movement feels aggressive.
Good framing makes you look calmer and more credible before you say a word.
Security habits that belong in your video routine
People often separate camera quality from meeting security. In practice, they belong together. A professional call isn't just clear. It's controlled.
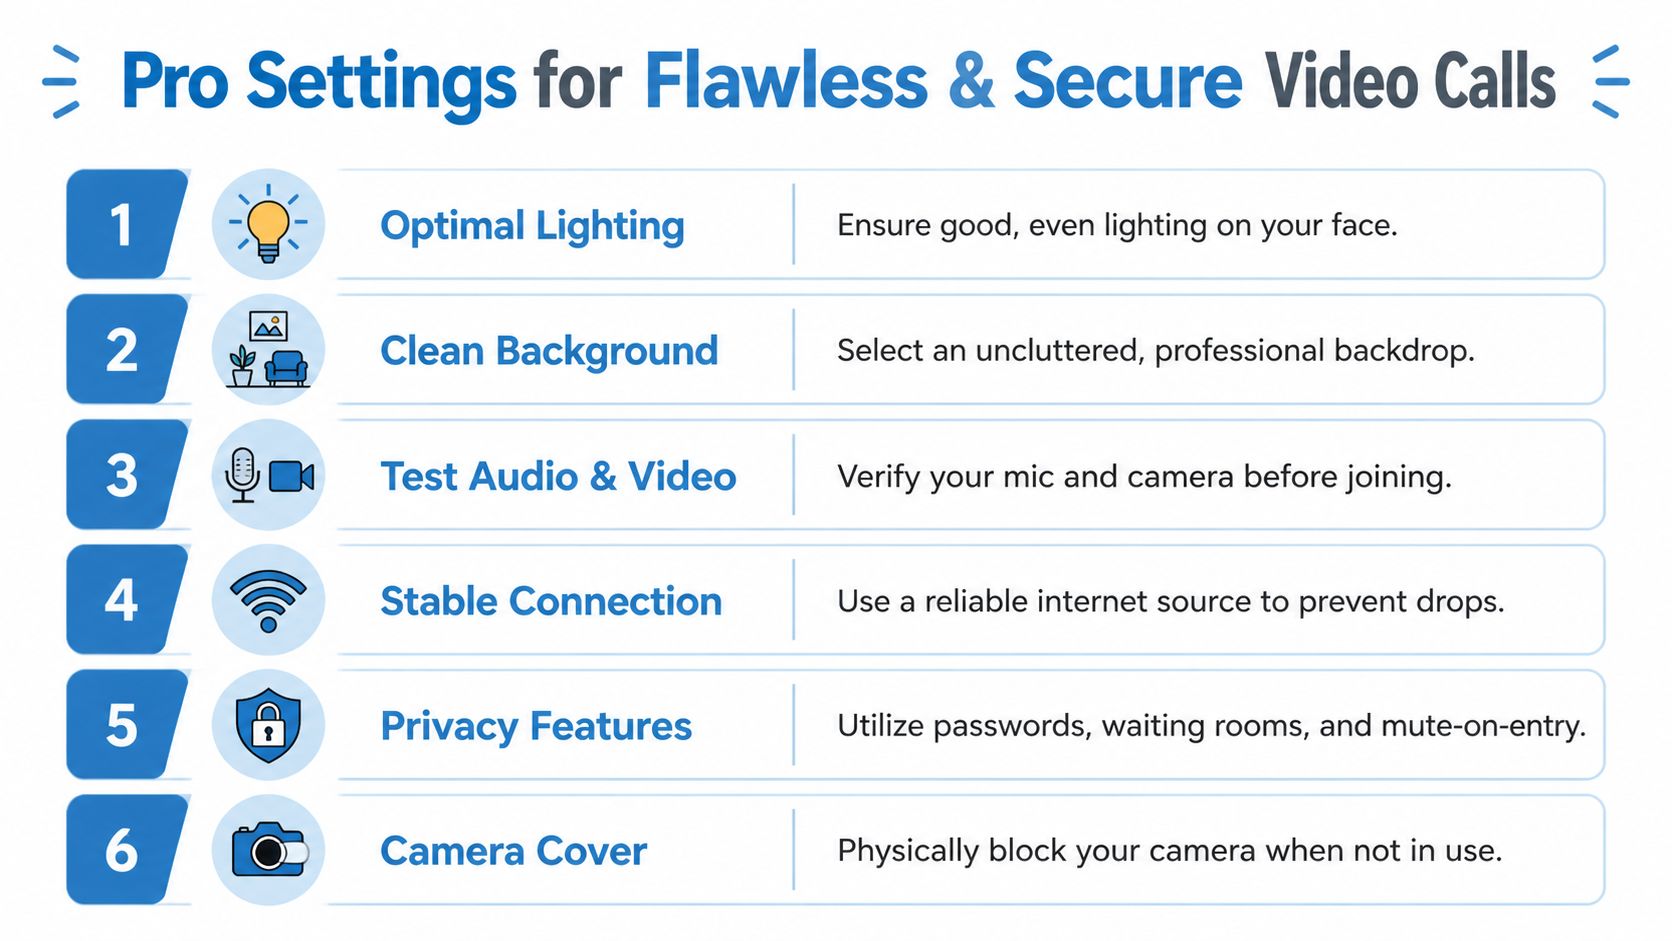
Before a sensitive meeting, especially in healthcare or client services, I recommend this short checklist:
- Review camera permissions: Confirm only the apps you use can access the camera.
- Close unnecessary apps: This reduces conflicts and lowers the chance of the wrong app grabbing the camera.
- Use meeting controls intentionally: Waiting rooms, passwords, and participant controls protect the session.
- Mute and audio-check before joining: A polished camera feed loses value fast if the call opens with feedback.
- Cover the camera when done: Software privacy matters, but a physical cover or shutter adds certainty.
Audio also affects how professional your video presence feels. If your image is sharp but your room echoes, the whole call still feels amateur. For that side of setup, this guide on stopping echo on your mic is worth keeping handy.
What a reliable setup looks like in practice
For a telemedicine provider, a reliable setup means neutral lighting, minimal processing, stable browser permissions, and privacy controls checked before the clinic day starts. For a trainer running webinars, it means clear face lighting, consistent exposure, and a background that doesn't distract from slides or demos. For a startup founder, it means showing up the same way on every investor call, not looking dramatically different from one room or time of day to the next.
That's the value of good camera setup. It reduces doubt. People don't have to work around your image. They just pay attention to what you're saying.
Troubleshooting Common Mac Camera Problems
Even a well-tuned setup breaks sometimes. The trick is to troubleshoot in the right order so you don't waste time changing five things at once.
When the camera won't turn on
If an app says there's no camera, start simple.
- Quit the meeting app completely.
- Reopen it and check whether the green camera light appears.
- Go to System Settings > Privacy & Security > Camera and confirm the app or browser still has access.
- If you're in a browser, check the site permission too.
- Close other apps that might be using the camera.
This solves a surprising number of failures. Camera access conflicts are common when you've got Zoom, a browser tab, and a preview tool all open at once.
If that still doesn't work, restart the Mac. On older Intel-based Macs, deeper resets may help, but most day-to-day failures come from permissions or app conflicts rather than hardware damage.
When the video looks grainy or dark
Don't assume the camera is bad. Diagnose the environment first.
Check the room before the app
Built-in Mac cameras still struggle when the light is behind you or mostly overhead. If your image is grainy, move a light source in front of your face before changing software settings. Poor light creates noise, softness, and color inconsistency that no app can fully rescue.
Then check the app
If the room looks fine but the call doesn't, revisit your meeting software. Low-light compensation can help in one room and hurt in another. HD toggles can also be disabled after updates or account changes.
A quick test sequence works well:
- open Photo Booth or another preview app
- compare that image to your meeting app
- if the preview looks good and the meeting app looks bad, the problem is app-side
- if both look bad, the room or camera settings are the better place to focus
When the framing looks wrong
This one frustrates MacBook users more than it should. The camera may be working perfectly, but the call still looks awkward because the angle is low or too close.
Try these fixes in order:
- Raise the Mac physically
- Move back from the screen
- Disable auto-framing if it feels jumpy
- Use Portrait mode to reduce attention on the lower frame
- Preview before joining rather than adjusting live
If you do lots of demos, the wrong angle gets worse when you're typing or showing objects on your desk. In those cases, a simple stand often helps more than any software tweak.
When Reactions or effects appear at the wrong time
macOS video effects can trigger accidental overlays. That's funny in a personal call and terrible in a webinar or client review.
If you see hearts, fireworks, or other unexpected reactions:
- open the Video Effects menu during the call
- turn Reactions off
- test your normal hand gestures before the next meeting
The same logic applies to stacked effects. If your image looks strange, processed, or unstable, strip the setup back to basics. Turn off native effects, disable app filters, and rebuild from one setting at a time.
The fastest way to fix a broken camera setup is subtraction. Remove layers until the image looks normal again, then add back only what helps.
When flicker or odd color keeps appearing
Flicker usually comes from environmental mismatch, not from some hidden Mac failure. Artificial room lighting can interact badly with the camera, especially in mixed-light setups.
Try this:
- turn off one light source and test again
- avoid mixing daylight with harsh overhead bulbs if possible
- move slightly so one dominant light hits your face
- compare the image in the same app after each change
Odd color is often just auto white balance reacting to a difficult room. A warmer lamp on one side and cool daylight on the other can make skin tones drift during a call. Simplifying the lighting often works better than fighting it with filters.
A final troubleshooting order that saves time
When a Mac camera acts up, use this sequence:
| Problem type | First check | Second check | Third check |
|---|---|---|---|
| No image | App restart | macOS permission | Browser or site permission |
| Dark or grainy | Front lighting | App video settings | Third-party camera tool |
| Bad framing | Physical height | Distance from screen | Native video effects |
| Weird effects | Reactions off | Disable stacked filters | Rebuild settings one by one |
That order matters because it keeps you from solving the wrong problem. Many individuals jump to software first when the underlying issue is light, angle, or permissions.
If you need a secure platform that works well with the browser-based Mac setup in this guide, AONMeetings is worth a look. Plans start at ₹179 per user per month and include unlimited meeting time, built-in webinars, recordings, screen sharing, and bank-level encryption, with HIPAA-compliant support for organizations that need stronger privacy controls. It's a strong value option if you want reliable video, webinar hosting included, and straightforward pricing without extra contracts or hidden fees.
