
Someone asks you to share your screen, and the small panic starts immediately. Which app are they using. Are your messages visible. Will your desktop show patient files, sales notes, or that half-finished spreadsheet you meant to clean up yesterday.
That’s why learning how to share screen on Mac isn’t just about finding the Share button. It’s about choosing the right method for the situation. A quick handoff to another Mac user is one thing. A client walkthrough, telehealth consult, or remote training session is something else.
Most guides stop at the built-in steps. They don’t spend enough time on the core problem: sharing securely over the internet without awkward setup. That gap matters because 68% of remote workers need reliable cross-network collaboration, according to a 2025 Gartner survey cited in Apple-related guidance. Native Mac tools can work well, but they often assume network proximity or an Apple-centric setup that isn’t ideal for professional use.
Mastering Screen Share on Your Mac
A Mac gives you more than one way to share your screen, and that’s both helpful and confusing. The right method depends on who you’re sharing with, what you’re showing, and how much privacy control you need.
A simple example makes this clear. If a coworker on another Mac needs help finding a setting, native screen sharing is often enough. If a doctor needs to walk a patient through a portal, or a consultant needs to present to a mixed group on Windows, phones, and tablets, the built-in route starts to feel narrow.
When native tools work well
Mac’s built-in options are good for informal collaboration inside an Apple-heavy environment. They’re familiar, already on the machine, and convenient when both sides are comfortable with Messages, FaceTime, or the Screen Sharing app.
They’re less comfortable when the session needs stronger structure. External participants may not use Apple devices. Some workflows need browser access, waiting rooms, moderator controls, or cleaner guest joining.
Practical rule: If the session is personal or internal, native sharing is usually fine. If it involves clients, patients, students, or outside partners, use a method that reduces setup and limits what’s exposed.
The real decision
Before you click Share, ask three things:
- Who’s joining: Another Mac user, or a mixed group across different devices.
- What’s on screen: A full desktop, one app window, or a single browser tab.
- How sensitive it is: Casual content, internal business material, or regulated information.
That short checklist prevents most screen-sharing mistakes. It also keeps you from using a casual tool in a meeting that needs professional controls.
Unlocking Screen Sharing Permissions in macOS
Before any app can share your Mac screen properly, macOS wants your approval. That’s a good thing. Apple has treated screen sharing as a core capability since Mac OS X 10.5 Leopard in 2007, and the modern settings reflect that history while keeping control in your hands, as described in this Mac screen sharing guide.
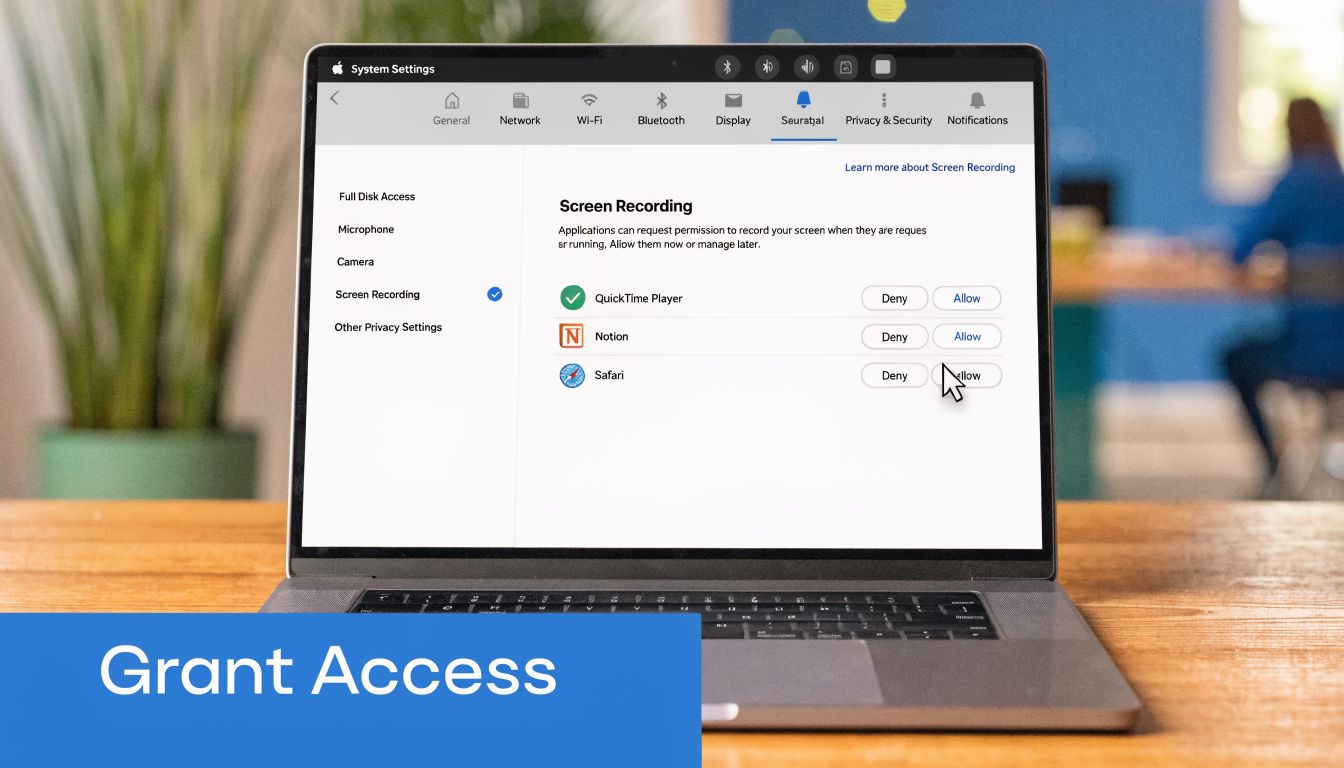
The most common failure point is simple. The app or browser you’re using doesn’t have screen recording permission yet. If your audience sees a black screen, or the share picker doesn’t behave correctly, this is the first place to check.
The two settings that matter
You need to know both paths:
System Settings > General > Sharing
These settings allow you to turn on Mac’s built-in screen sharing capability.System Settings > Privacy & Security > Screen Recording
In this section, you allow specific apps, such as Safari, Chrome, FaceTime, or another meeting tool, to capture your display.
Those are separate controls. One enables the feature at the system level. The other grants app-level permission.
A clean setup process
Use this order and you’ll avoid most first-run issues:
- Turn on built-in sharing: Open System Settings, go to General, then Sharing, and switch Screen Sharing on if you plan to use Apple’s native feature.
- Grant app access: Open Privacy & Security, select Screen Recording, then enable the browser or app you’ll use for meetings.
- Quit and reopen the app: Some apps need a restart before macOS applies the permission cleanly.
- Test with one window first: Share a browser window instead of your whole desktop so you can confirm permissions without exposing everything.
macOS blocks screen capture by default because your screen can contain passwords, personal messages, medical data, and confidential documents. That friction is intentional.
Review and revoke access
Permissions shouldn’t be a one-time set-and-forget job. If you tried a tool once and no longer use it, go back to Privacy & Security > Screen Recording and switch it off.
That habit matters in shared work environments. It also keeps your Mac tidy when you rotate between browsers for meetings, webinars, and support calls.
Secure Browser-Based Sharing for Professional Meetings
When the meeting includes clients, patients, or outside attendees, browser-based screen sharing is usually the smoother choice. Nobody has to install a desktop app just to see your presentation. The host shares from the browser, the guest joins from the browser, and the session starts with fewer technical delays.
That matters most when you need to control exactly what’s visible. A healthcare provider, for example, shouldn’t share an entire desktop if only one portal window needs to be shown.

Choose the right share type
Most modern browsers on Mac give you three main options. The difference matters.
- Browser tab: Best for slides, dashboards, or a single web app. This keeps other tabs and desktop clutter hidden.
- Application window: Best for showing Keynote, a patient portal, a PDF, or a design app while protecting the rest of your desktop.
- Entire screen: Best only when you need to move between multiple apps quickly.
For regulated work, the safest habit is to share the smallest possible surface area. If one browser tab will do the job, don’t share the full screen.
A practical workflow for sensitive meetings
A telehealth example shows how this should work in practice:
- Open the patient portal or charting view you need.
- Close unrelated tabs and hide any messaging or email apps.
- Start the meeting in your browser.
- Click the screen share button.
- Select window or tab, not the entire desktop, unless the workflow requires it.
- Confirm that the preview shows only the intended content.
- Keep a second browser profile or separate desktop space for non-clinical work.
If you’re evaluating secure platforms for care delivery, this overview of HIPAA-compliant video conferencing platforms is a useful place to compare what matters operationally.
Why browser-based sharing is different
Native Apple tools are convenient for Apple-to-Apple sessions. Browser-based platforms fit better when meetings cross devices, departments, or organizations.
The practical advantages are straightforward:
- No desktop app dependency: Guests can join without being walked through installation.
- Window-level control: You can present one thing without exposing the rest of your machine.
- Encryption as a built-in expectation: For professional use, strong meeting encryption should be standard, not an upgrade.
- Webinars included on some platforms: That matters when a screen share turns into a training session, orientation, or product demo.
AONMeetings is one example of this category. It runs in the browser, includes screen sharing, webinar hosting, and bank-level encryption, and starts at ₹179 per user per month according to the publisher’s product details. That pricing is often easier to justify than juggling a free consumer workflow for internal chats and a separate paid tool for presentations, training, and remote care.
Share the narrowest view you can. A single tab looks more professional than a full desktop, and it leaks less.
Choosing Your Tool Native Sharing vs AONMeetings
The question isn’t which option is universally better. The question is which one fits the meeting in front of you.
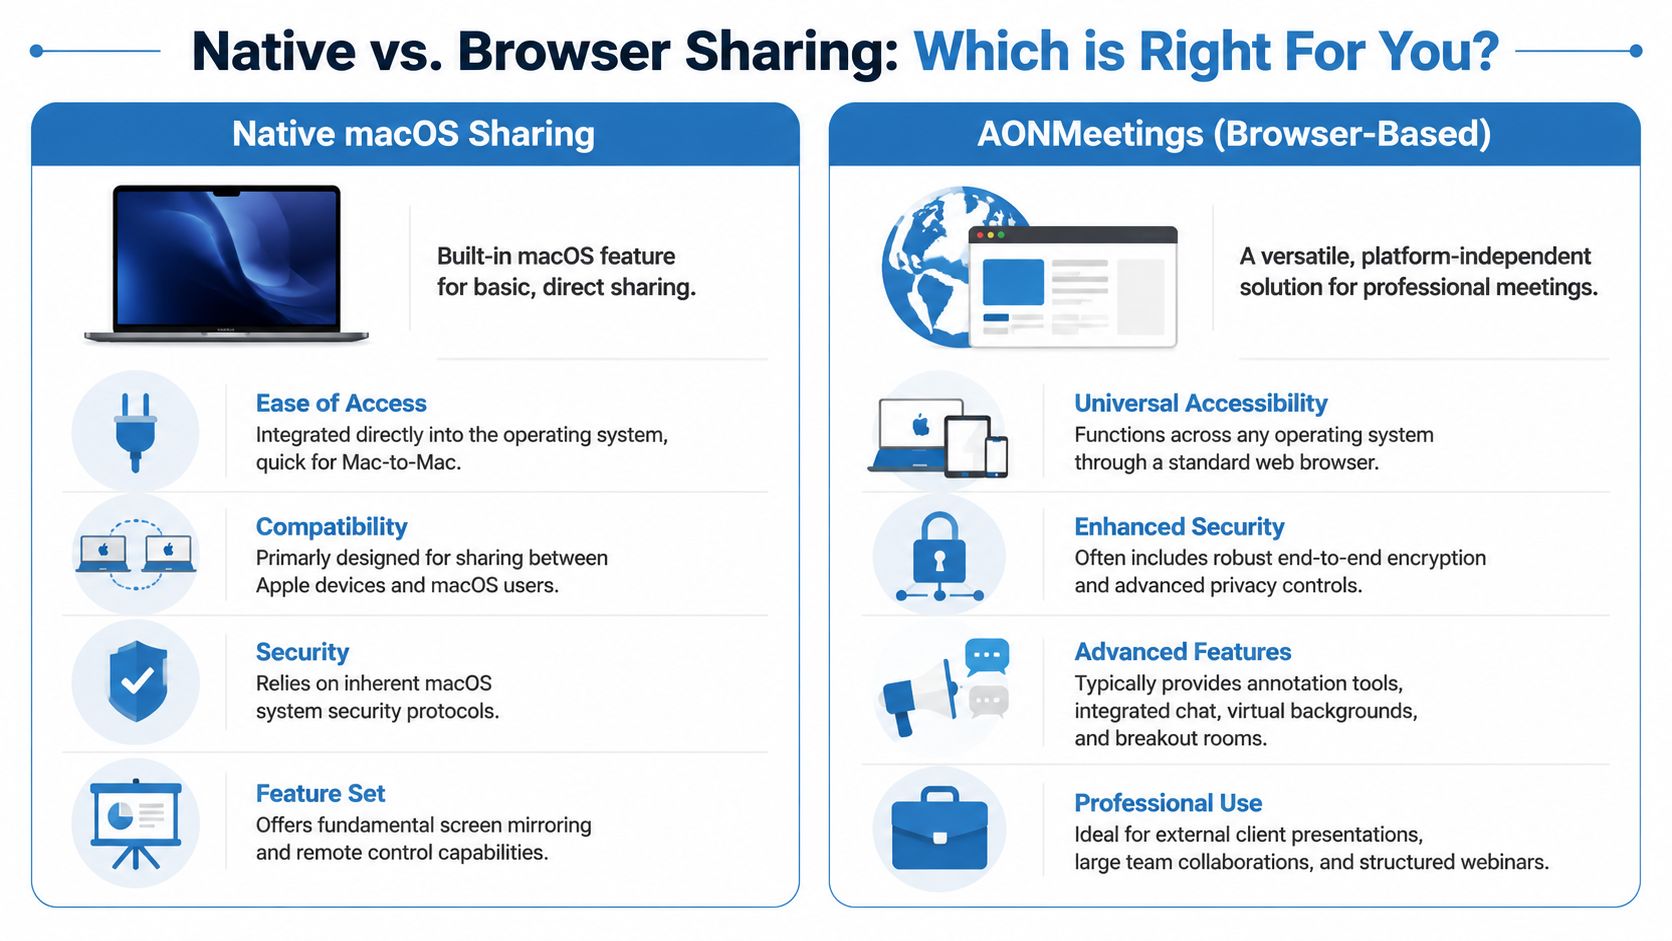
Native Mac sharing is built for convenience inside Apple’s world. Browser-based sharing fits mixed-device, outward-facing work. That distinction saves time because it matches the tool to the risk level and audience.
Side-by-side decision view
| Feature | Mac Native (FaceTime/Messages) | AONMeetings |
|---|---|---|
| Price | Built into macOS | Starts at ₹179 per user per month |
| Joining experience | Best when participants are already in Apple’s ecosystem | Browser-based joining across devices |
| Best use case | Quick help, casual sharing, internal Apple-to-Apple collaboration | Client meetings, telehealth, webinars, training |
| Encryption | Uses Apple’s native security model | Bank-level encryption |
| Webinars included | No dedicated webinar workflow | Included in plans per publisher details |
| Professional controls | Basic sharing and remote assistance | Meeting controls, whiteboards, document sharing, recordings, and webinar workflow |
Where native Mac sharing fits
Use FaceTime or Messages when the interaction is direct and informal. It’s ideal for helping a parent change a setting, reviewing a page with a teammate on a Mac, or doing a quick internal walkthrough.
It’s less ideal when the group is mixed, the joining process needs to be frictionless, or the meeting has to look polished from the first click. That’s where browser-based tools tend to remove hassle.
Where a browser platform earns its keep
Professional sharing isn’t just about transmitting your screen. You may need chat, recording, a waiting room, webinar hosting, moderator controls, or a cleaner handoff to people who aren’t technical.
That matters for educators and coaches. Someone running sessions through a coaching platform may need scheduling and client management on one side, then a reliable browser meeting with structured screen sharing on the other. The point isn’t stacking tools for the sake of it. It’s giving guests a simpler path to join and giving the host better control over what the audience sees.
If you’re comparing options for lean teams, this roundup of video conferencing for small business is useful because it frames the decision around actual business use, not just feature lists.
Native tools are for familiar environments. Professional meetings need predictable guest access and stronger controls.
Pro Tips for Private and Professional Screen Sharing
A professional screen share can go off course for reasons that have nothing to do with the app itself. A calendar alert appears. The wrong tab is visible. A patient name sits in a filename on the desktop. In client work, telehealth, and internal reviews, those mistakes are usually preventable with two minutes of setup.
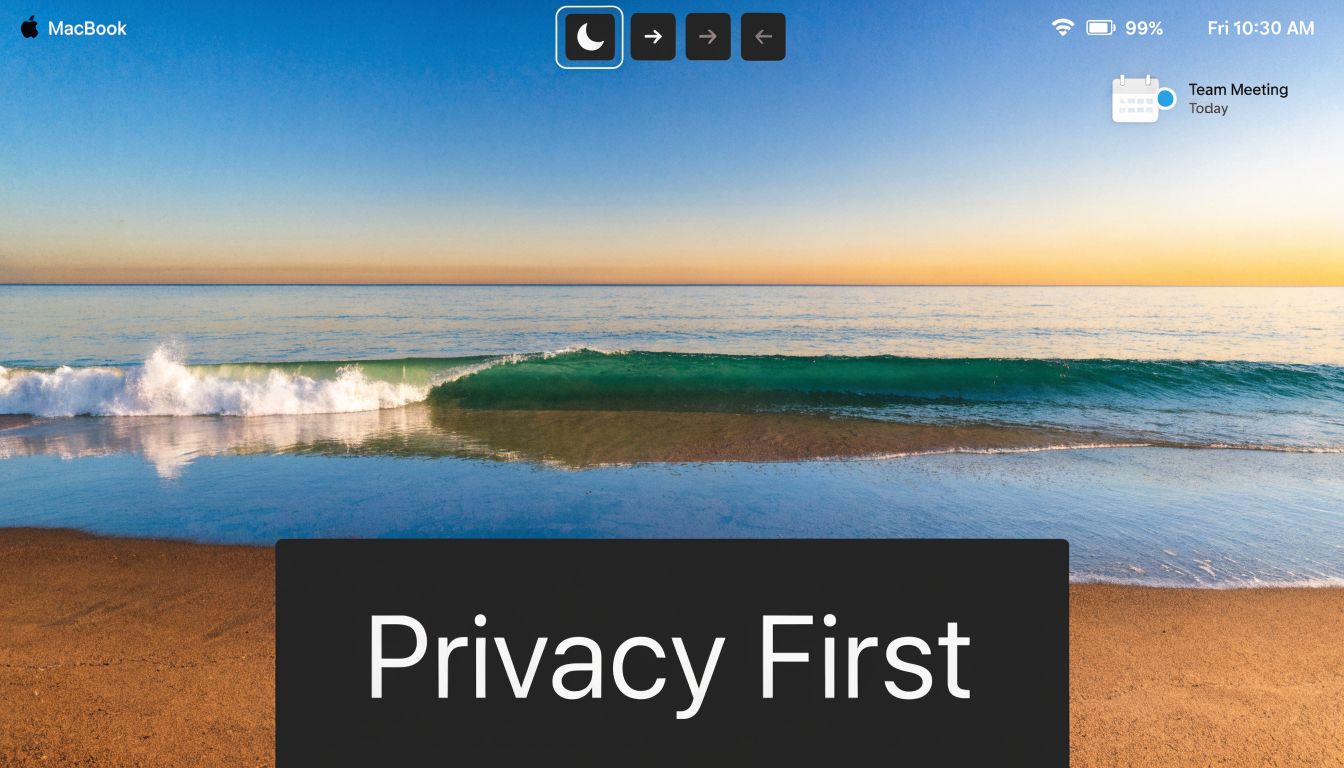
The simplest habit is still one of the most effective. Turn on Do Not Disturb before the meeting, then close anything that does not belong in the session. A practical walkthrough in this MacBook screen sharing privacy guide also points to the same common failure points: notifications, exposed files, and unnecessary desktop clutter.
The privacy checklist I’d use before any live share
For higher-stakes meetings, I treat screen sharing like opening a conference room door. If something is visible on your Mac, assume it may become visible to everyone else too.
- Turn on Do Not Disturb: Stop message banners, calendar alerts, and mail previews before they interrupt the session.
- Hide what you’re not using: Close unrelated apps and extra browser tabs. If you can share one window instead of the full desktop, do that.
- Clean the desktop: Filenames often reveal more than people expect, especially in legal, HR, finance, and care delivery workflows.
- Use a separate browser profile: Keep a presentation profile for work so personal tabs, saved logins, and autofill suggestions do not appear on screen.
- Check what is in the menu bar: Screen recording tools, chat apps, and password managers can expose private details at the wrong moment.
This matters even more in telehealth and regulated business settings. Built-in Mac sharing works well for casual help sessions, but privacy expectations change fast when protected health information, client records, or financial data might be one click away. In those meetings, the safer choice is usually a controlled browser session with clearer guest access and admin oversight, such as AONMeetings, rather than an improvised desktop share.
Performance matters in live demos
Smooth sharing is not about aesthetics alone. It affects whether people can follow a product walkthrough, read small interface changes, or keep up with annotations in real time.
On newer Macs, especially Apple Silicon systems, performance tuning helps most with motion-heavy tasks like software demos, whiteboarding, or video playback. Static slides and simple documents usually do fine with standard settings. The trade-off is straightforward. Higher performance is useful for fast-moving visuals, but good meeting hygiene matters more than squeezing out every last frame.
Small touches that make you look prepared
Try these before you click Share:
- Open the exact file or page first: People notice dead time immediately.
- Test audio on the content you plan to present: A video with no sound wastes the first minute of the meeting.
- Keep a backup fix ready for audio problems: If your setup starts feeding back, bookmark this guide on how to stop echo on mic before the call.
- Rename tabs and documents where needed: “Q3 forecast final final” does not inspire confidence.
- Log out of anything irrelevant: That includes personal email, messaging apps, and consumer cloud drives.
Calm screen sharing usually comes from preparation, not presentation talent. The host who looks polished is often the one who spent three quiet minutes reducing risk before anyone joined.
What to Do When Mac Screen Sharing Fails
When screen sharing breaks, don’t troubleshoot everything at once. Check the likely cause tied to the symptom.
Black screen instead of your content
Likely cause: The browser or app doesn’t have Screen Recording permission in macOS.
Solution: Open System Settings > Privacy & Security > Screen Recording, enable the app, then quit and reopen it.
You can’t find the Share button or the share picker won’t appear
Likely cause: The meeting app is waiting on macOS permissions, or the browser tab isn’t active in the way the app expects.
Solution: Refresh the meeting, confirm permissions, and try sharing a single window first instead of the full desktop.
People can see your screen but not hear video audio
Likely cause: The tool supports video sharing differently depending on whether you picked a tab, a window, or the whole screen.
Solution: Re-share using the option best matched to the content, and test media playback before the meeting starts.
The session feels laggy or choppy
Likely cause: You’re sharing too much at once, or performance mode isn’t optimized for the task.
Solution: Close heavy apps, stop background sync tasks, and if you’re on Apple Silicon with Sonoma, use the higher-performance sharing mode for motion-heavy demos.
Your Secure Sharing Workflow
Use native Mac sharing when the meeting is casual, the participants are already in Apple’s ecosystem, and the content isn’t sensitive. Use a browser-based professional platform when the audience is mixed, the meeting needs cleaner guest access, or privacy controls matter more.
That’s the key answer to how to share screen on Mac. The clicks are easy. The judgment call matters more. Share the smallest view possible, prep your desktop before the meeting, and match the tool to the stakes. For telehealth, education, sales demos, and webinars, the safer workflow is the one that reduces friction while keeping encryption and privacy controls in place.
If you need browser-based screen sharing with HIPAA-oriented workflows, webinar hosting, unlimited meeting time, and bank-level encryption, take a look at AONMeetings. It’s built for people who need a professional sharing workflow without pushing every participant to install another app.
